
Appearance
Make.com
Recognito ships a first-party node hosted in Make.com's app store. Customers add the Recognito node to a Make scenario, paste an API key, and the node calls Recognito's API via a dedicated
/api/v1/make/...endpoint. All configuration lives on the Make.com side.
This page covers where the node lives and how to wire it up. For Make's own concepts — scenarios, modules, error handling — see Make.com's documentation.
Where the node lives
Make.com hosts the Recognito node in its app store. All configuration happens inside Make, not in Recognito's Settings.
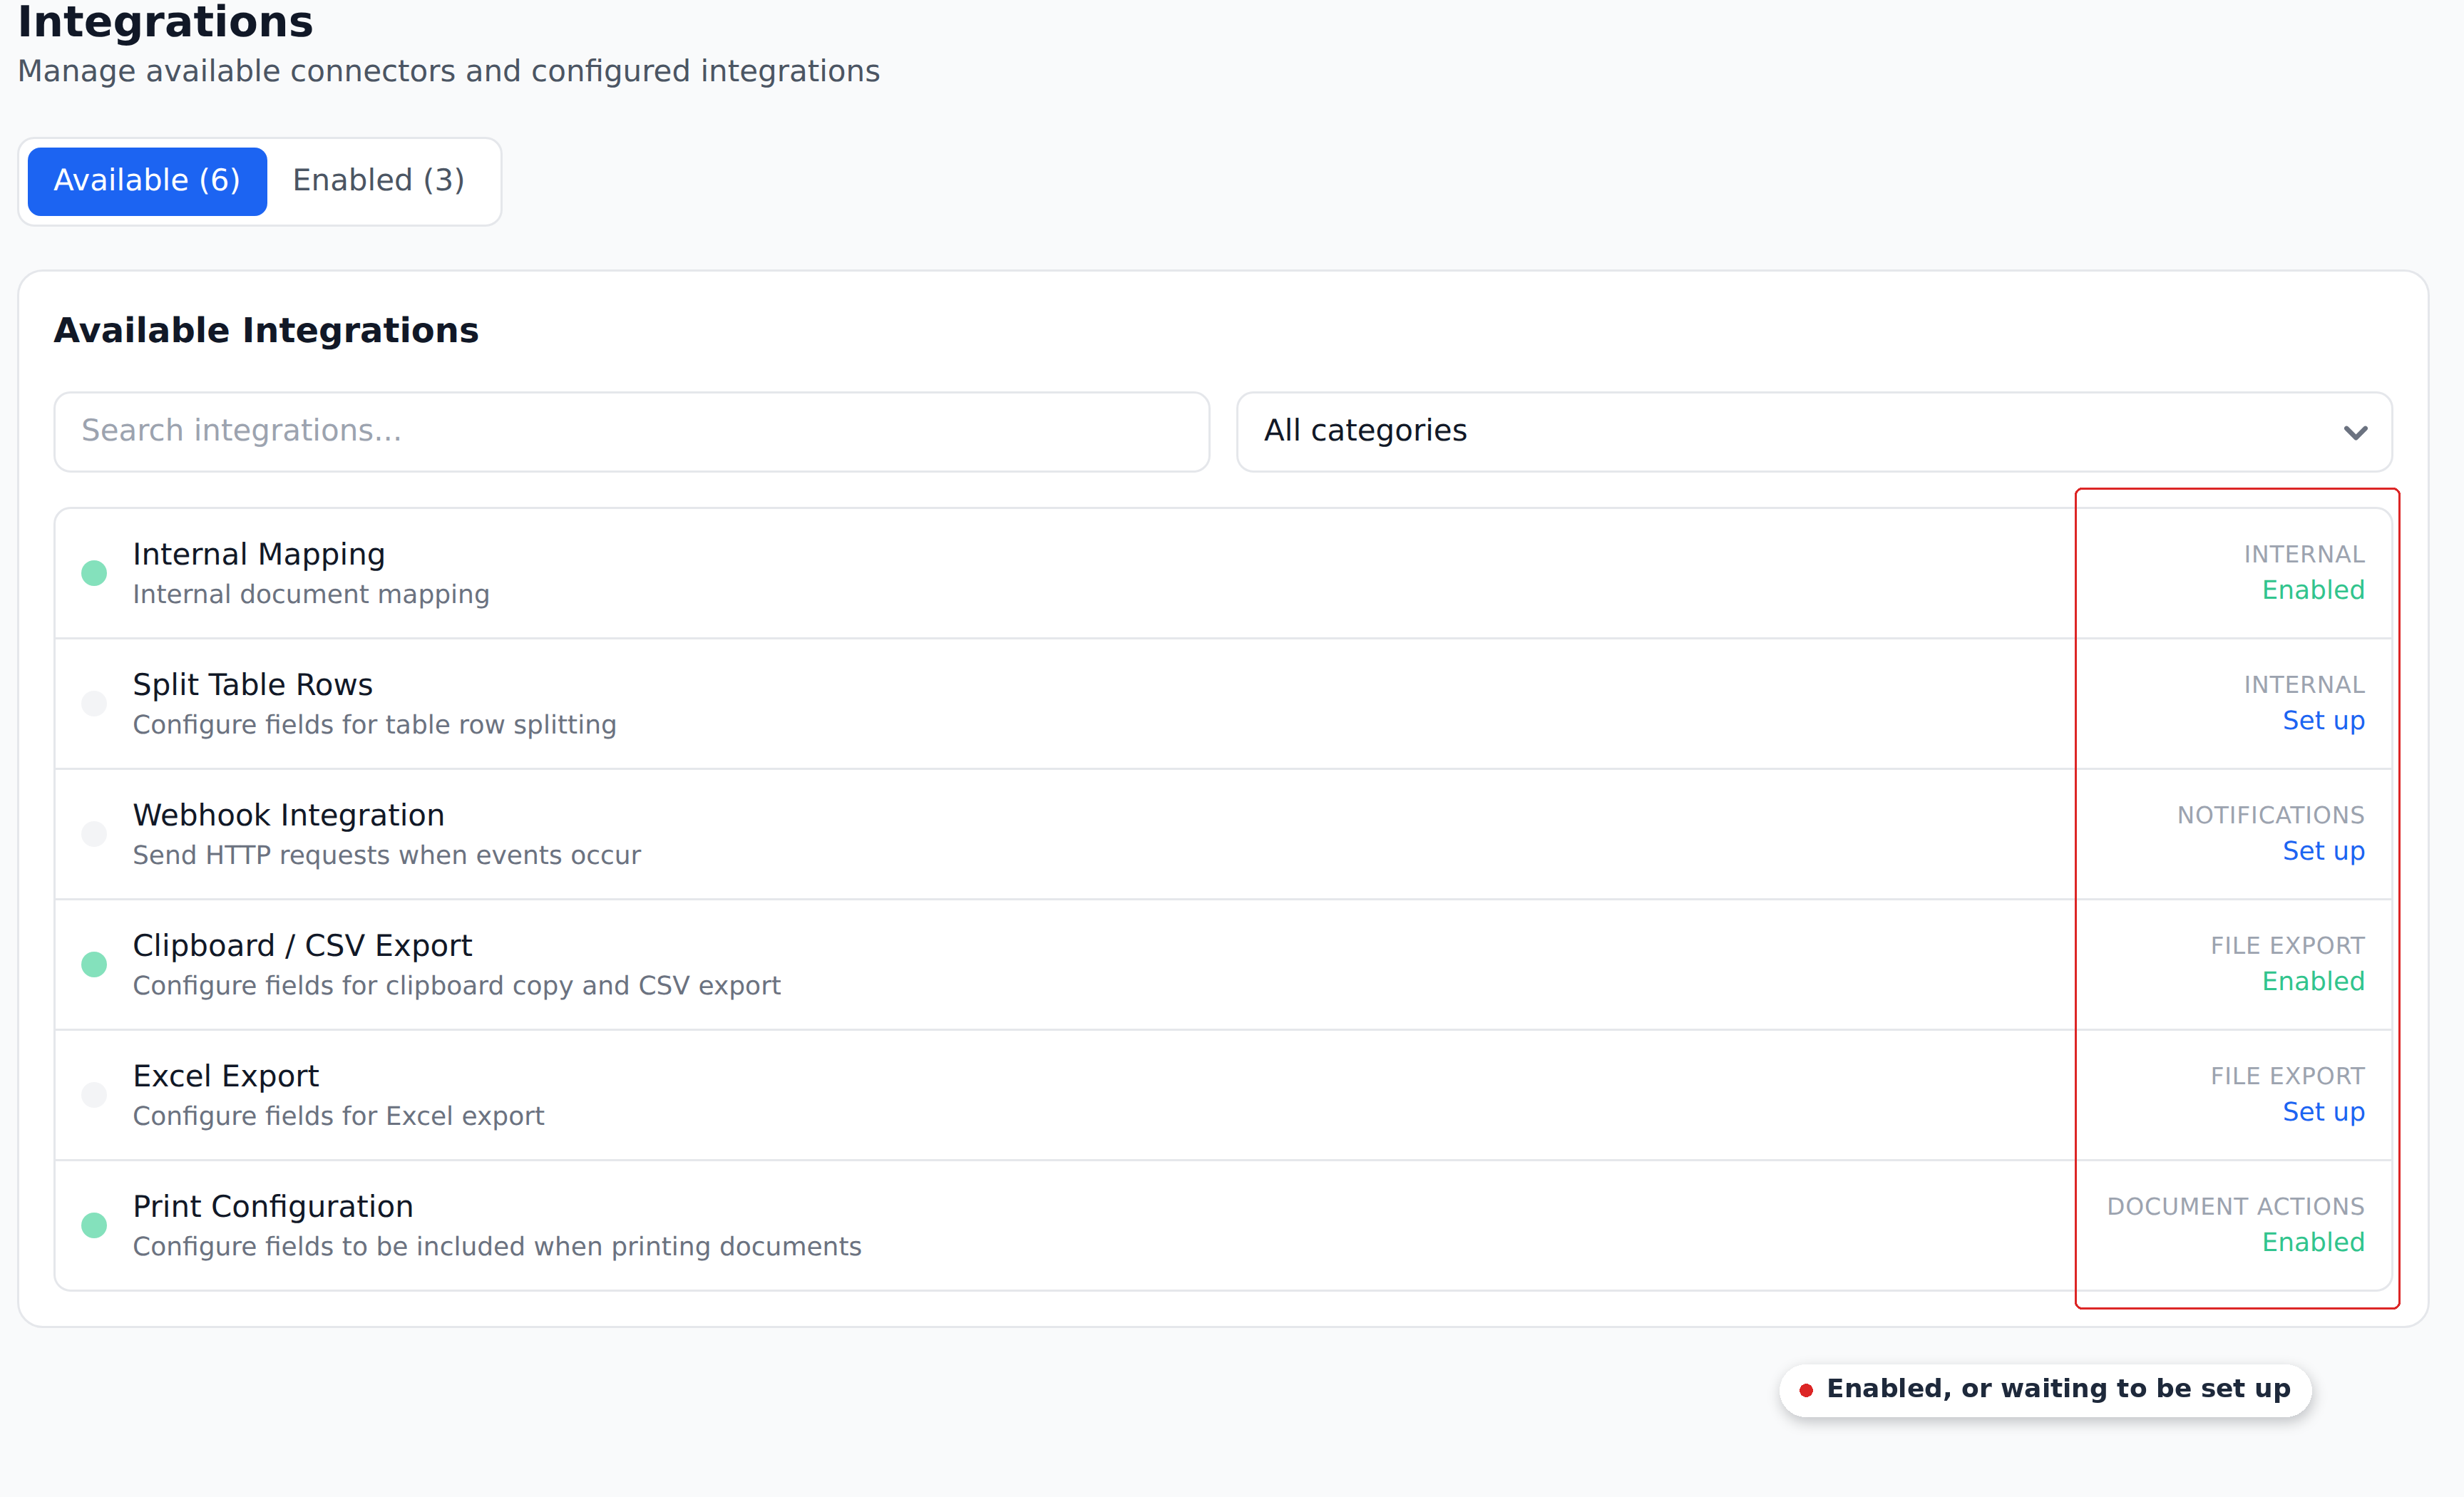
There is no Make.com card in Recognito's Settings → Integrations. The six cards there are the whole list, and none of them is Make — the integration is configured entirely on the Make side.
The flow:
- Generate an API key in Recognito at Settings → Organization → API Keys. Pick the scopes the node needs (typically Upload documents, Get documents).
- Open Make.com.
- Add the Recognito module to a scenario.
- Paste the API key when prompted.
- Configure the rest of the scenario inside Make.
What you can do with the node
The Make node calls Recognito's API. The dedicated endpoint is /api/v1/make/projects/{projectUuid}/documents for uploads; other operations follow the same pattern.
Common scenarios customers build:
- Upstream pipeline → Recognito. Documents arriving in a Make scenario (from email, cloud storage, a form, anywhere) get uploaded to Recognito for extraction.
- Recognito → downstream system. When a document is approved in Recognito, fetch its data via the Make node, transform if needed, then push to your ERP or warehouse.
- Recognito ↔ multiple downstream systems. Fan-out: one approval triggers multiple downstream actions (notify Slack, write to BigQuery, push to ERP).
What the node supports specifically — which triggers, which actions, which auth flows — is documented on Make's marketplace listing for the Recognito app. Check there for the current capability matrix.
Authenticating the node
The first time you add the node to a scenario, Make prompts for credentials. You paste:
- An API key generated in Recognito (Settings → Organization → API Keys, org-owner role).
Make stores the credential securely and reuses it across scenarios in the same workspace.
Use a scoped API key
Create an API key for Make specifically, with only the scopes the node needs (typically Upload documents and Get documents). If a Make scenario is compromised, you can rotate just that key without affecting other integrations. The four available scopes are: Upload documents, Get documents using custom schema, Get entity records, and Insert / Update / Delete entity records.
Webhook vs Make.com
If your only need is "Recognito approves → POST to one URL," a webhook is simpler. The Make.com path earns its place when:
- You need multi-step orchestration across systems.
- You want low-code transformation without writing a receiver.
- You're already running automation on Make.
For more complex setups, see Make.com's documentation for scenarios, error handling, and module patterns.
What's next
- n8n — the n8n equivalent for teams running n8n instead.
- Webhooks — the simpler alternative when orchestration isn't needed.
- API Reference — for direct integration without Make.